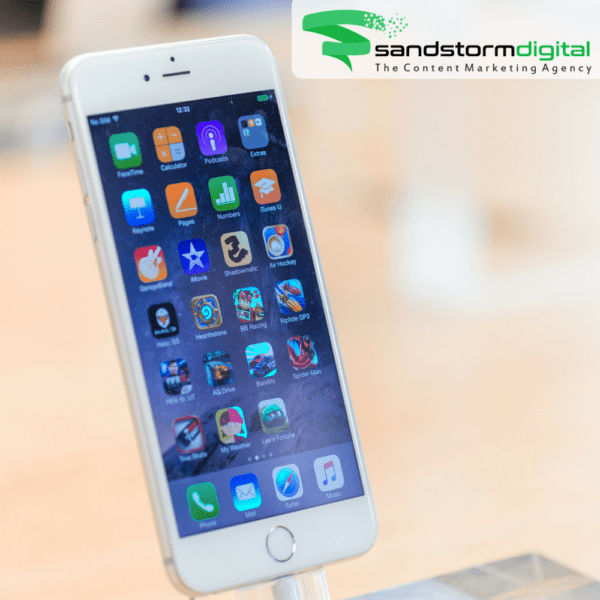
At Sandstorm Digital, we love building apps for our clients. Given the explosion in app development, and especially in Dubai which accounts for 60% of mobile application development in Middle East, it is one of our core product offerings.
There are many reasons to create an iPhone app: perhaps you want to promote your business, spark the next iPhone gaming craze, or simply create a handy tool that makes day-to-day life easier. Whatever your reasons, you need to follow these steps to create your iPhone app.
1) Set Up the Development Environment
To create apps for the iPhone, you need to use Xcode, which is Apple’s integrated development environment. You can download Xcode from the App Store. It includes a source code editor and a graphical user interface editor to help you develop your app.
2) Get to Know Objective-C
The source code for iOS apps is written in the programming language Objective-C. Although there are some tools that allow users to create apps without knowing how to program, familiarity with Objective-C will allow you to add advanced functionality to your app and customize it however you like.
Objective-C is based on the C programming language and uses much of its syntax. However, when building an app in Objective-C, you will need to take an object-oriented approach to programming. Each object represents either an interface element, such as a button or label, or a data object that is needed to make the app run correctly. Objects interact with each other using methods. If you already know how to program in C or an object-oriented language such as Java, then picking up Objective-C should be relatively straightforward. If you don’t have experience with object-oriented languages, the learning curve will be steeper, but not impossible.
3) Use Tutorials
Before you start coding your own app, it’s a good idea to work through a tutorial to familiarize yourself with Xcode and Objective-C. Apple’s app development tutorials are the first resource used by many developers, although many third-party tutorials also exist online.
4) Design the App
The first step in designing an app is to define your goal. What do you want the app to do? Who is your intended user? It’s a good idea to do some market research with your app’s intended audience, so you can find out what they think of your app concept and get suggestions about how to improve it. When you first develop your app, stick to solving a single problem, rather than trying to add multiple features all at once. You can always extend your app later.
5) Design the User Interface
Once you have defined the purpose of the app and decided on a few key features that it should have, you need to design the user interface. Having an interface that is as clear and easy to use as possible is crucial for ensuring that your app gets good reviews. A storyboard can help you to map out the screens that will be included in your app.
Many developers use the UIKit framework to create the visual components of their apps. This framework allows you to quickly create elements such as buttons, sliders, switches, toolbars and navigation tools, which you can combine to quickly create an attractive user interface. Interface Builder is a useful tool that allows you to drag and drop your windows and buttons to create your app’s user interface without having to write code. Interface Builder is included within Xcode.
6) Create App Interaction With the User
The next step is to make the app interact with the user. Interaction in iOS apps relies on event-driven programming, where the flow of commands is determined by actions taken by the user and events that occur in the phone’s system, such as incoming calls or messages. You can define actions that are triggered by certain events happening in the app. For example, a user tapping a button could cause the app to bring up a menu or switch to a different screen.
7) Distribute Your App
The first step to distributing an iOS app is to enroll in an Apple Developer Program. Once you have joined this program and tested your app to make sure that all bugs have been eliminated, you can submit it to the App Store. You can upload your app from within the Xcode development environment. You then need to wait for Apple to approve your app before you can release it.
8) Refine & Optimize Your App
No app is perfect as soon as it is released. After your app has been released, you will need to pay attention to the customer reviews that you receive, as they are an important source of feedback. You can also use iTunes Connect to download crash reports that users submit to Apple. Focus on fixing any bugs as soon as possible after users report them. You can also plan to add more features to your app, based on the reviews that it gets in the App Store. Once your app is listed, don’t forget to optimize it to show up higher in the app store search results.
Conclusion
Creating an iOS app takes a significant investment of time, particularly if you are not currently familiar with programming in Objective-C or a similar language. If you want to speed up the process and free up your own time, you can outsource the development to an app development company. If you outsource the app, then you will still need to work with the developer to define the concept and purpose of the app, but the developer can handle the coding for you.


